
On these cold and snowy/rainy days I love looking at pictures from last summer and the summer before and the summer before, wishing it would get warmer soon. Now I believe we still got a month or two to go before the temperatures will allow us to drop those heavy winter jackets. Until then, I got a little inspiration for you how to display your memories in your home!
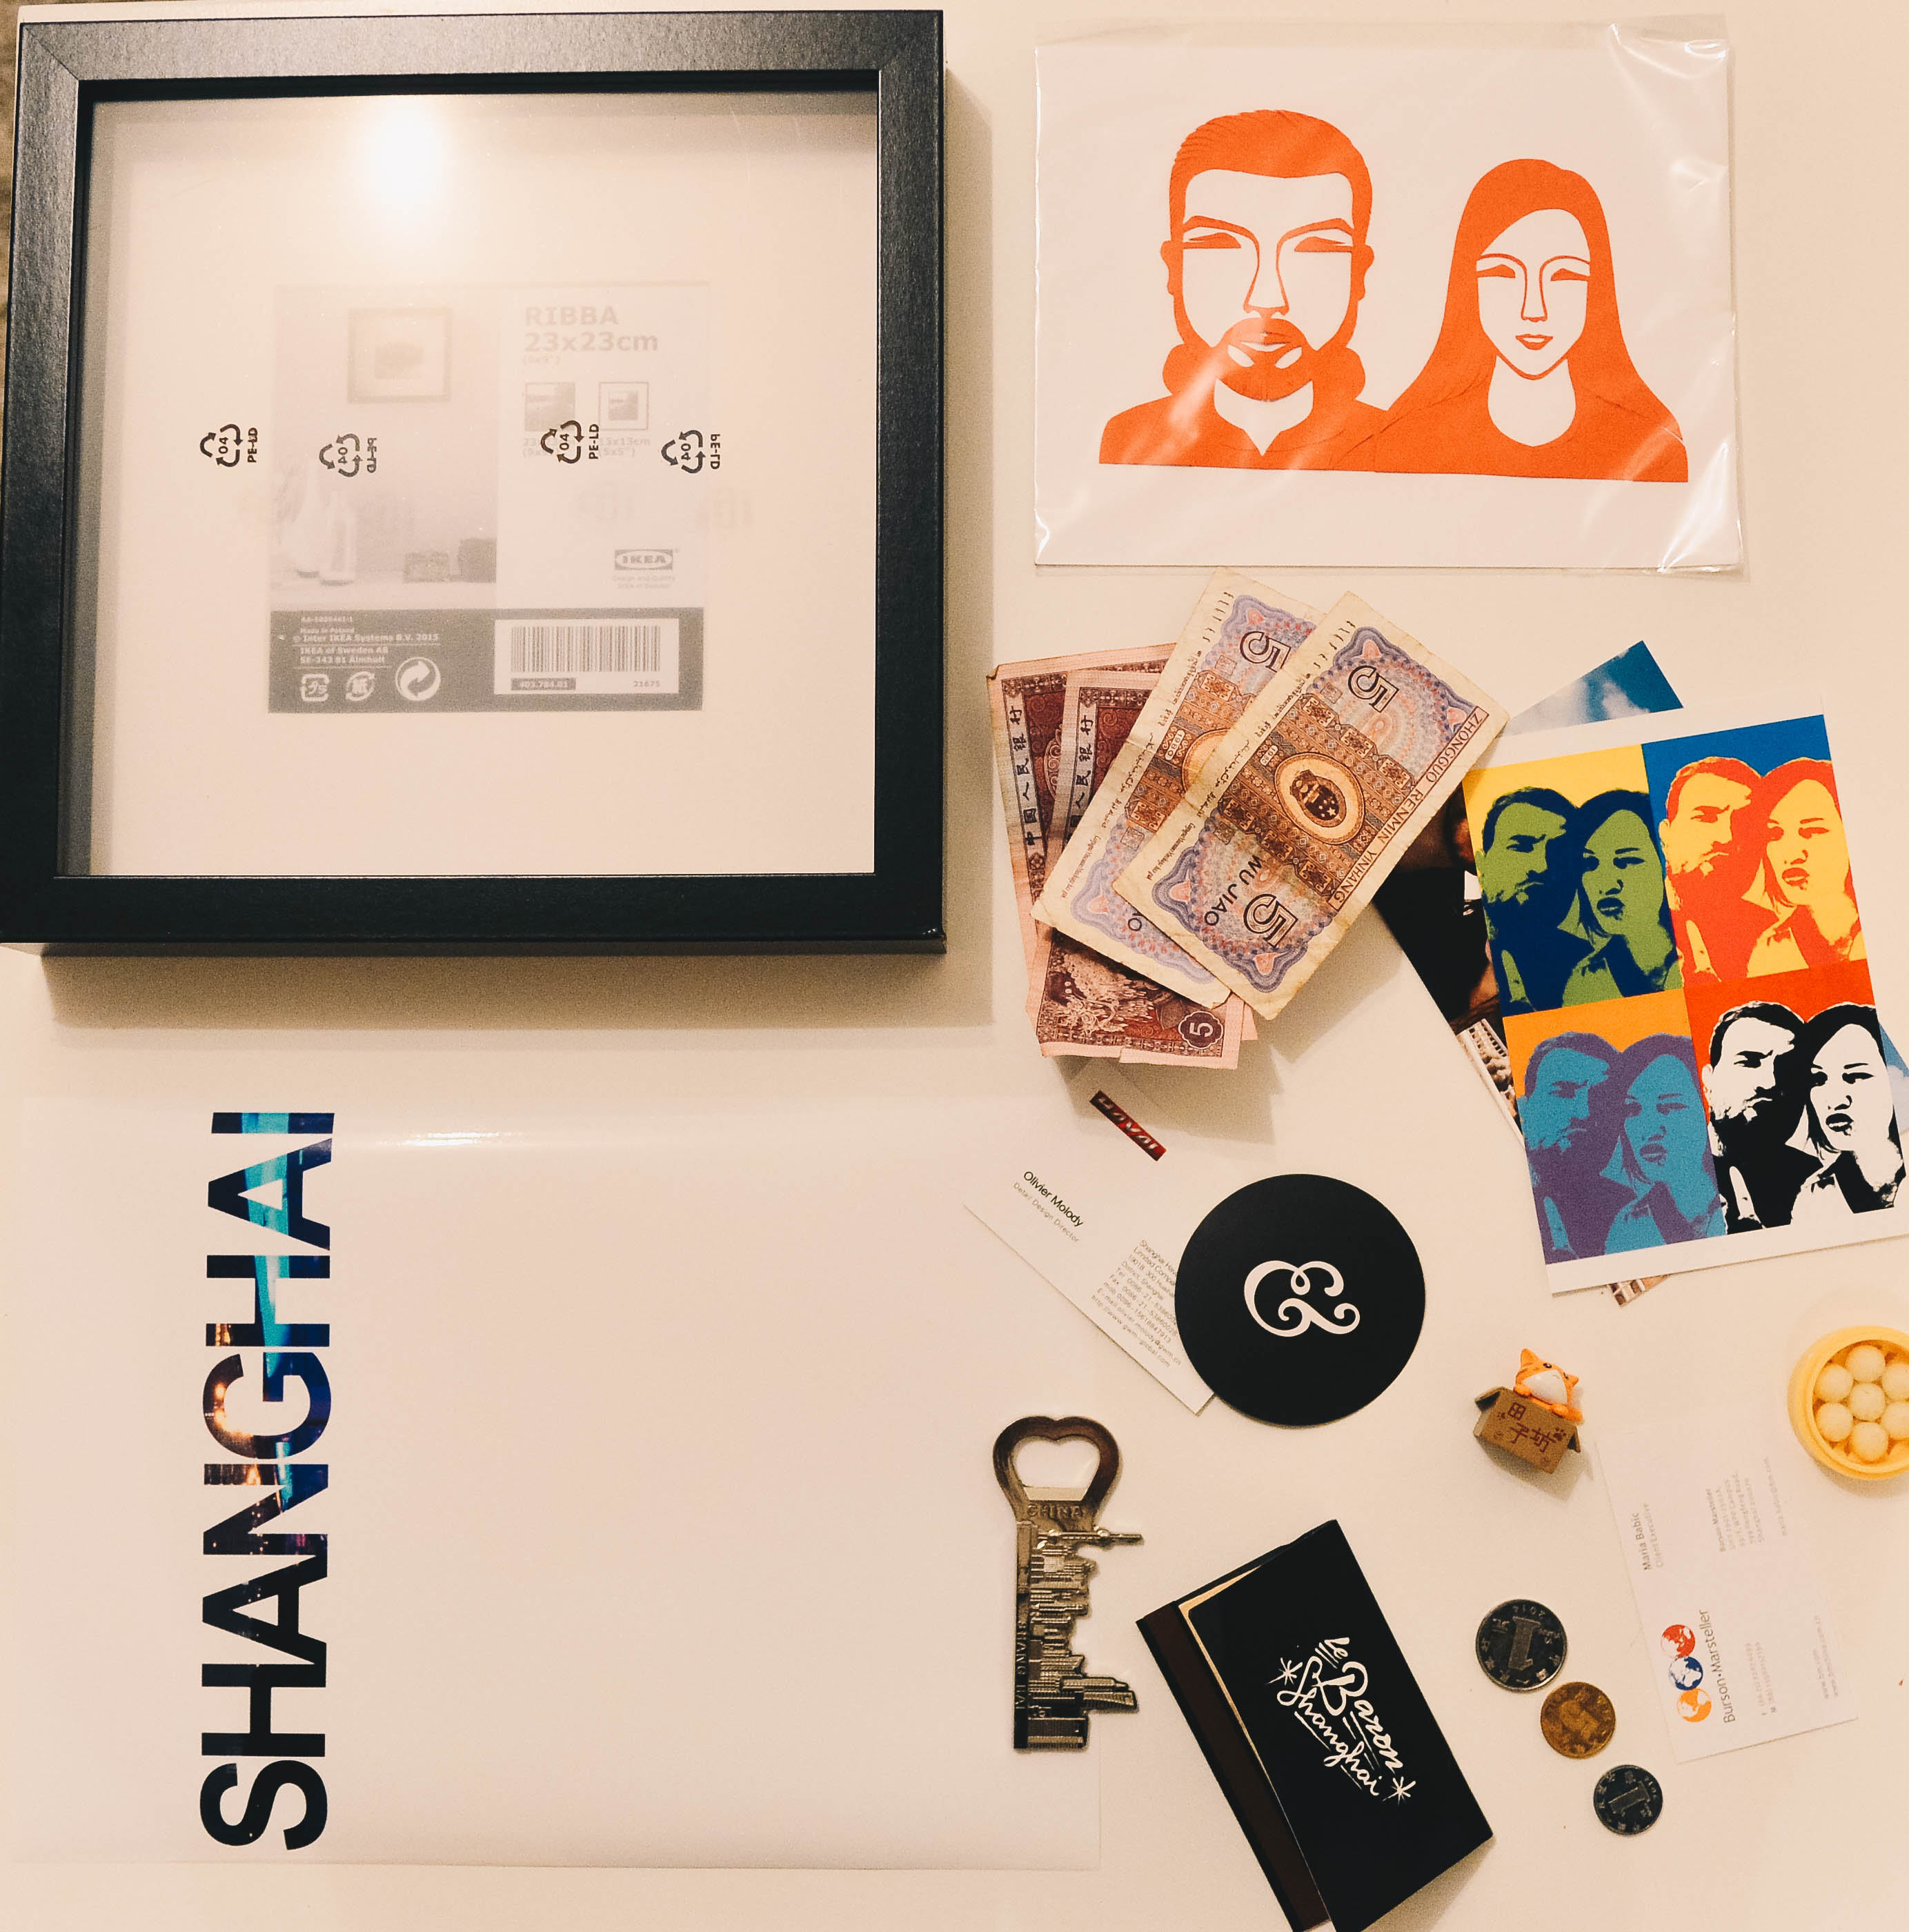
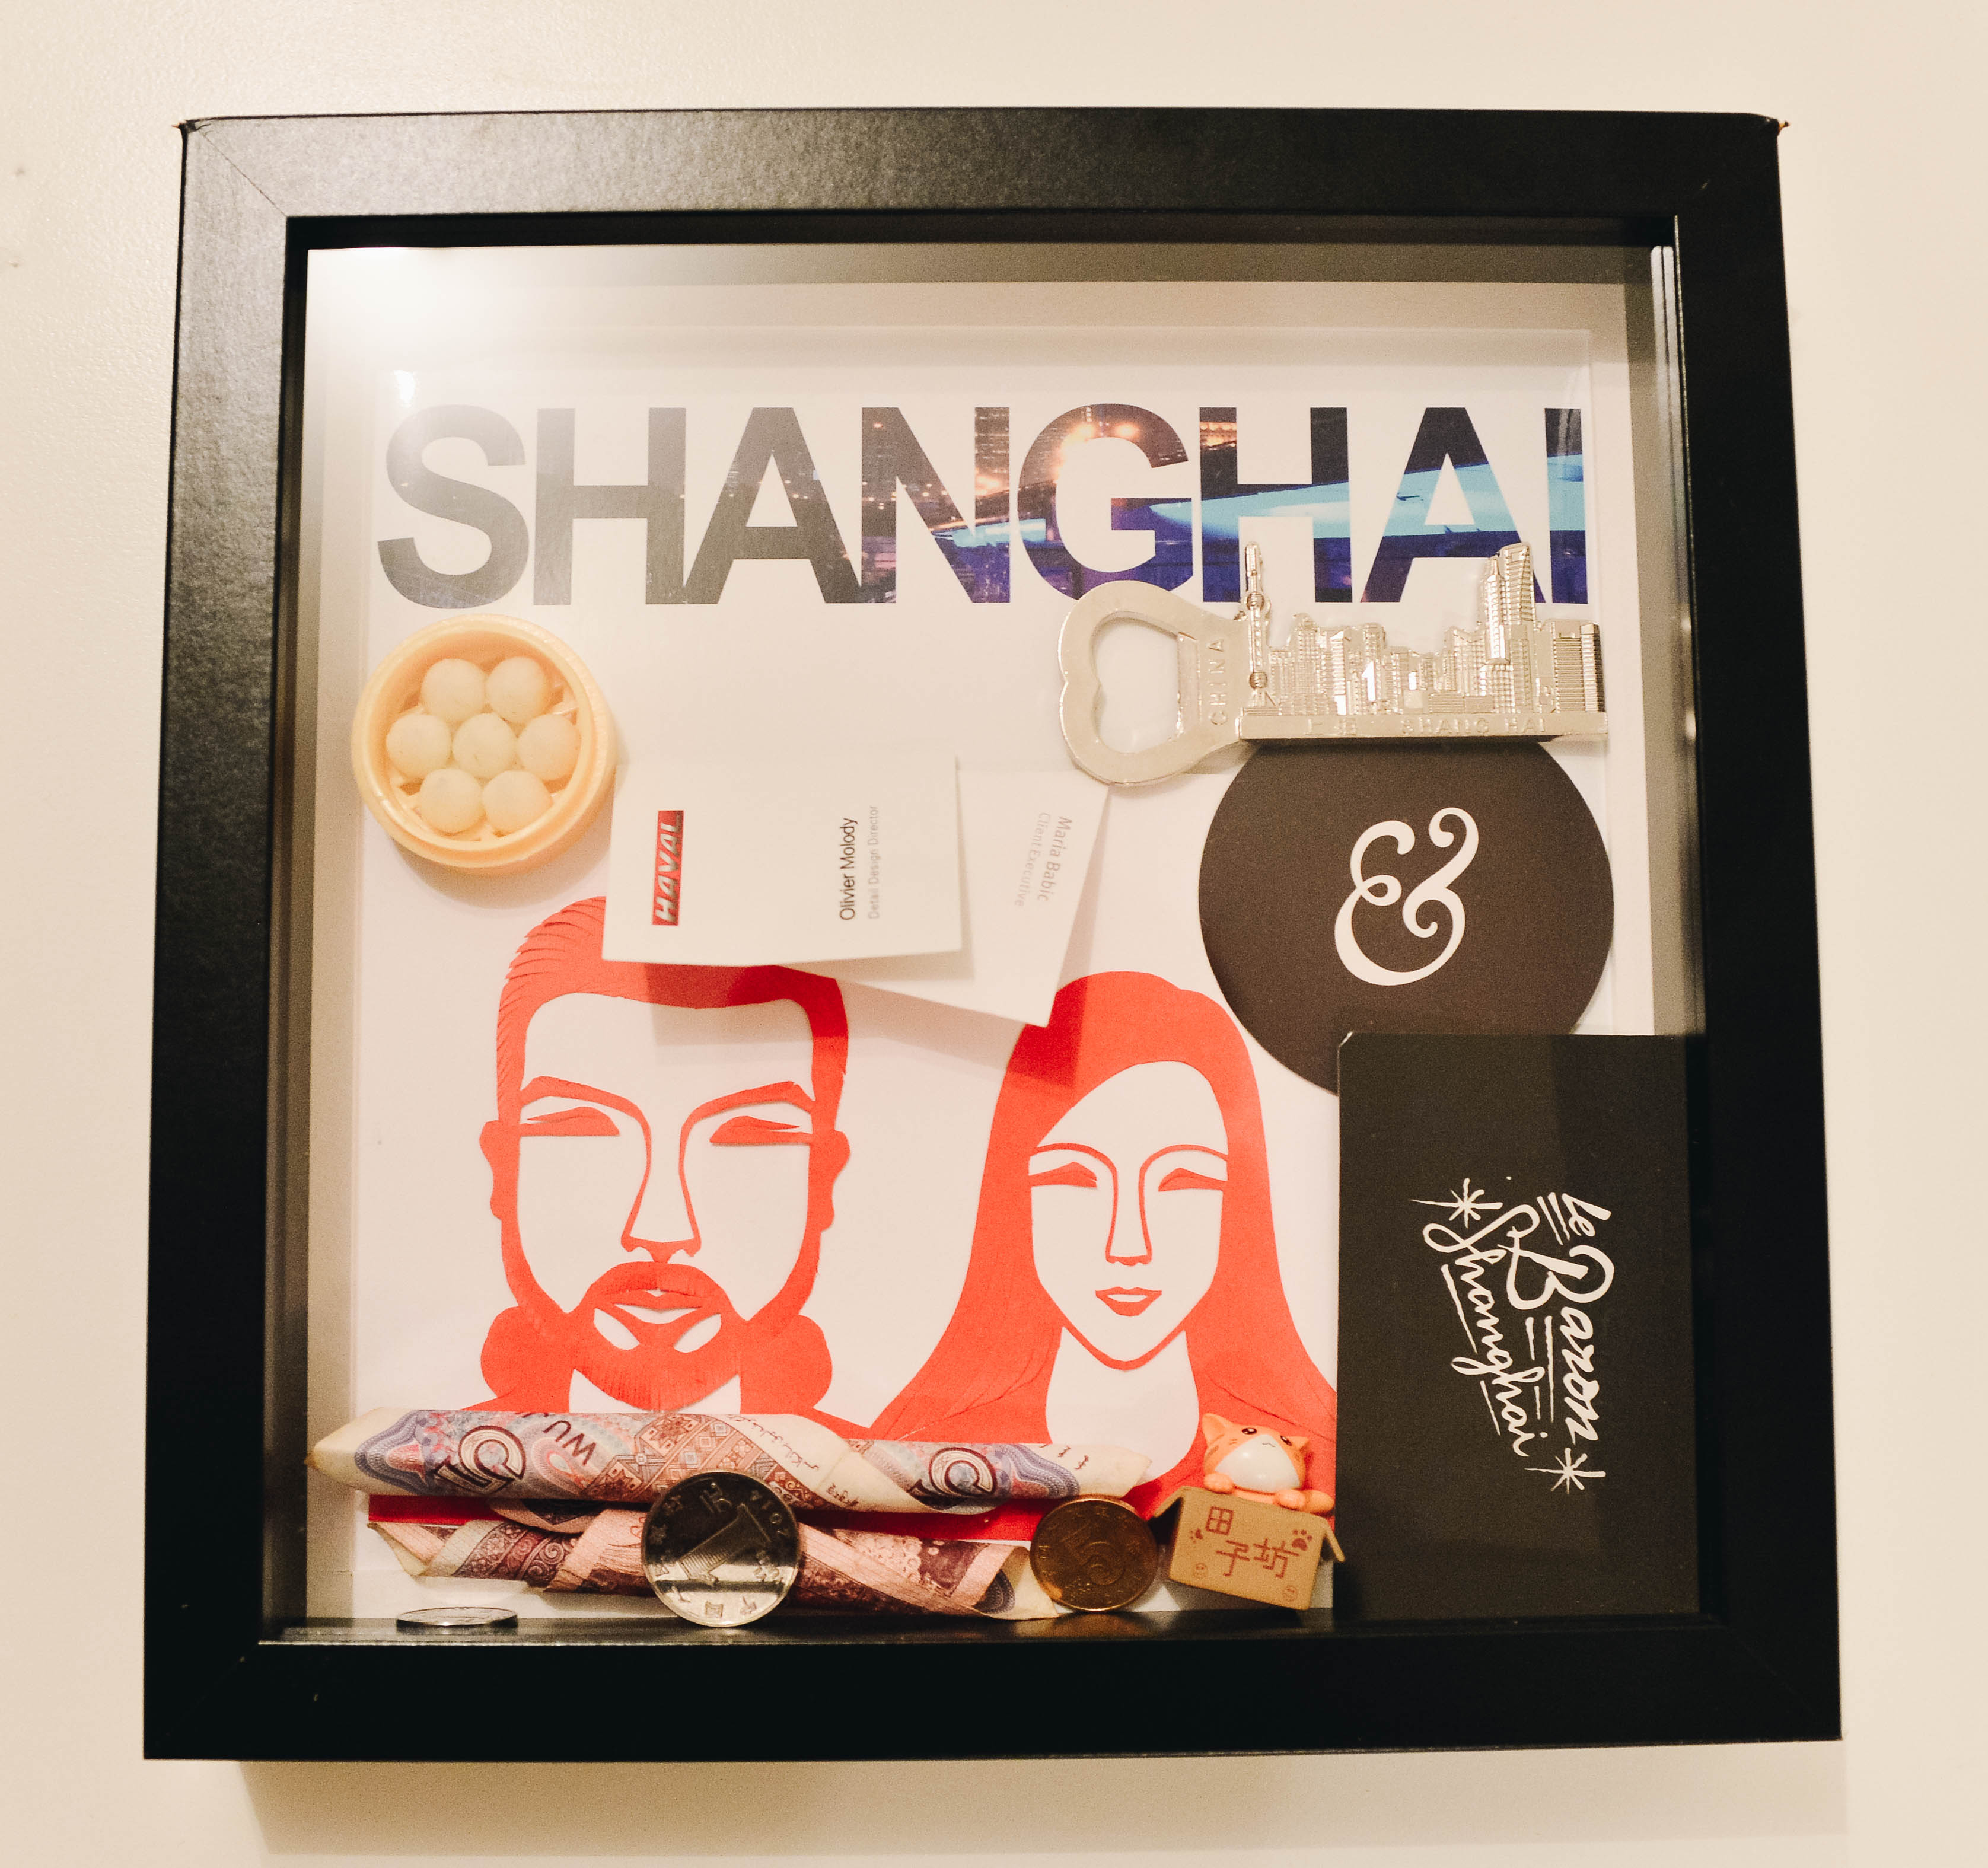
Every trip we do, we end up keeping a few little items like the local tourist map, coins and banknotes from that country and other tiny souvenirs. You keep those items because you somehow can’t let go of that seashell you found on that beach last year because it doesn’t belong to the trash bin but you also don’t really know what to do with it.
How about you put a little frame together with all those items? It serves as a nice home decor and to be honest – also a subtle way to brag about all the places you’ve visited so far.
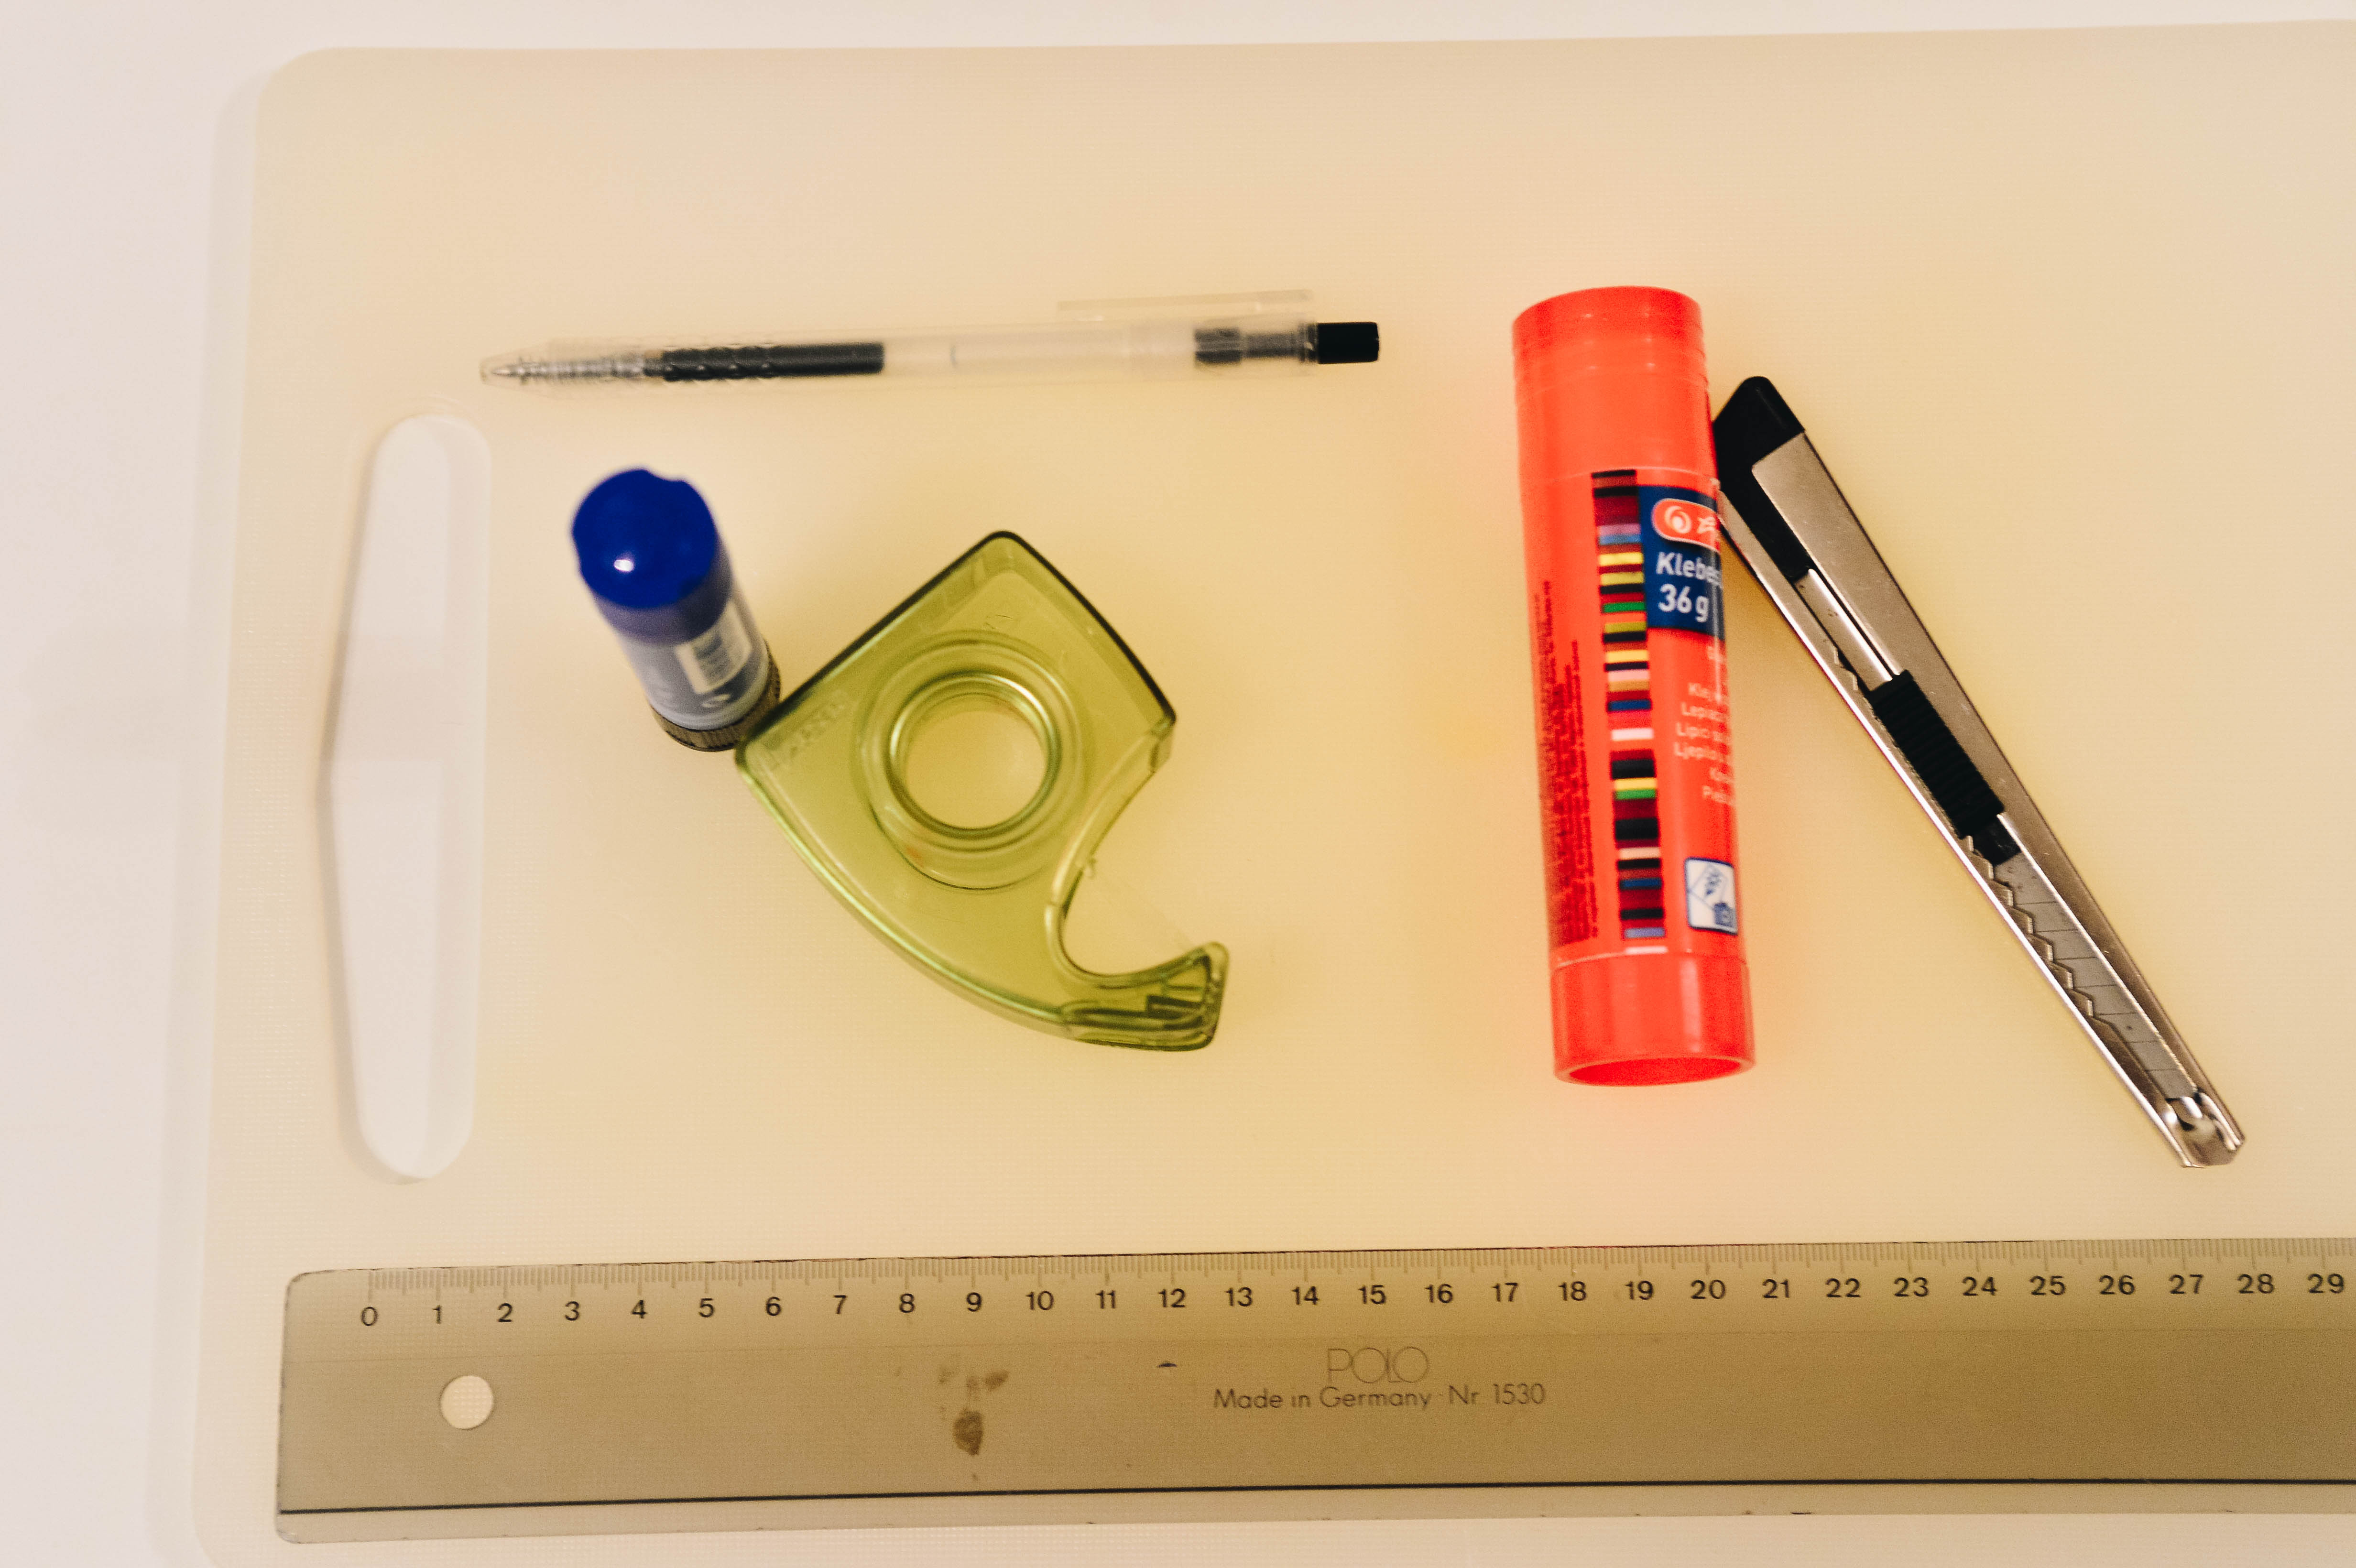
Here’s what you need:
- a deep frame (e.g. Ikea Ribba frame)
- one iconic picture, prefarebly a landscape picture and it’s ideally a photograph you took yourself on the trip
- few little items such as banknotes and coins, tourist map, business card of your hotel/restaurant, some sand, sea shells, whatever item reminds you. Be creative! For example you can lookout for a miniature scooter if at the place you’ve been to, you rented a scooter etc.
- A4 colour print
- superglue
- Photoshop or a similar program to create the background

First step is to print your background picture. Here’s s step-by-step guide for Photoshop for Mac:
- Open Photoshop and create your Background Layer with the dimensions: width: 23 cm, height:23cm and a resolution of 300dpi
- Use the Text-Tool to write the name of the destination you’ve been to.
- Use a font that makes the letters big and bold and thick so you can have as much of your photograph exposed. For example Arial is a great font to use. If the name of the destination is to wide for the frame, continue with step 4, otherwise skip it and continue with step 5.
- Use the text-tool to reduce the spacing of the font. Here’s how: Window->paragraph->text tool tab opens->change the number of the spacing until your text fits in the frame.
- Select the Text: Go with the cursor on the layer of your text and click while holding at the same time command on your keyboard. Now your text should be outlined with a dashed line.
- Create a new layer and invert the selection by clicking command+shift+I, this should result in an inverted selection: Now the text and your frame are outlined with a dashed line.
- Use the fill-tool to colour everything but your text in a colour of your choice. As you can see in my example, I always used a white background.
- Now you can add another layer and insert your selected picture. By placing your photograph between your text layer and the inverted selection layer, your text should be filled up with your chosen photograph.
Next step is optional: Cut out the passepartout to fit your background picture.


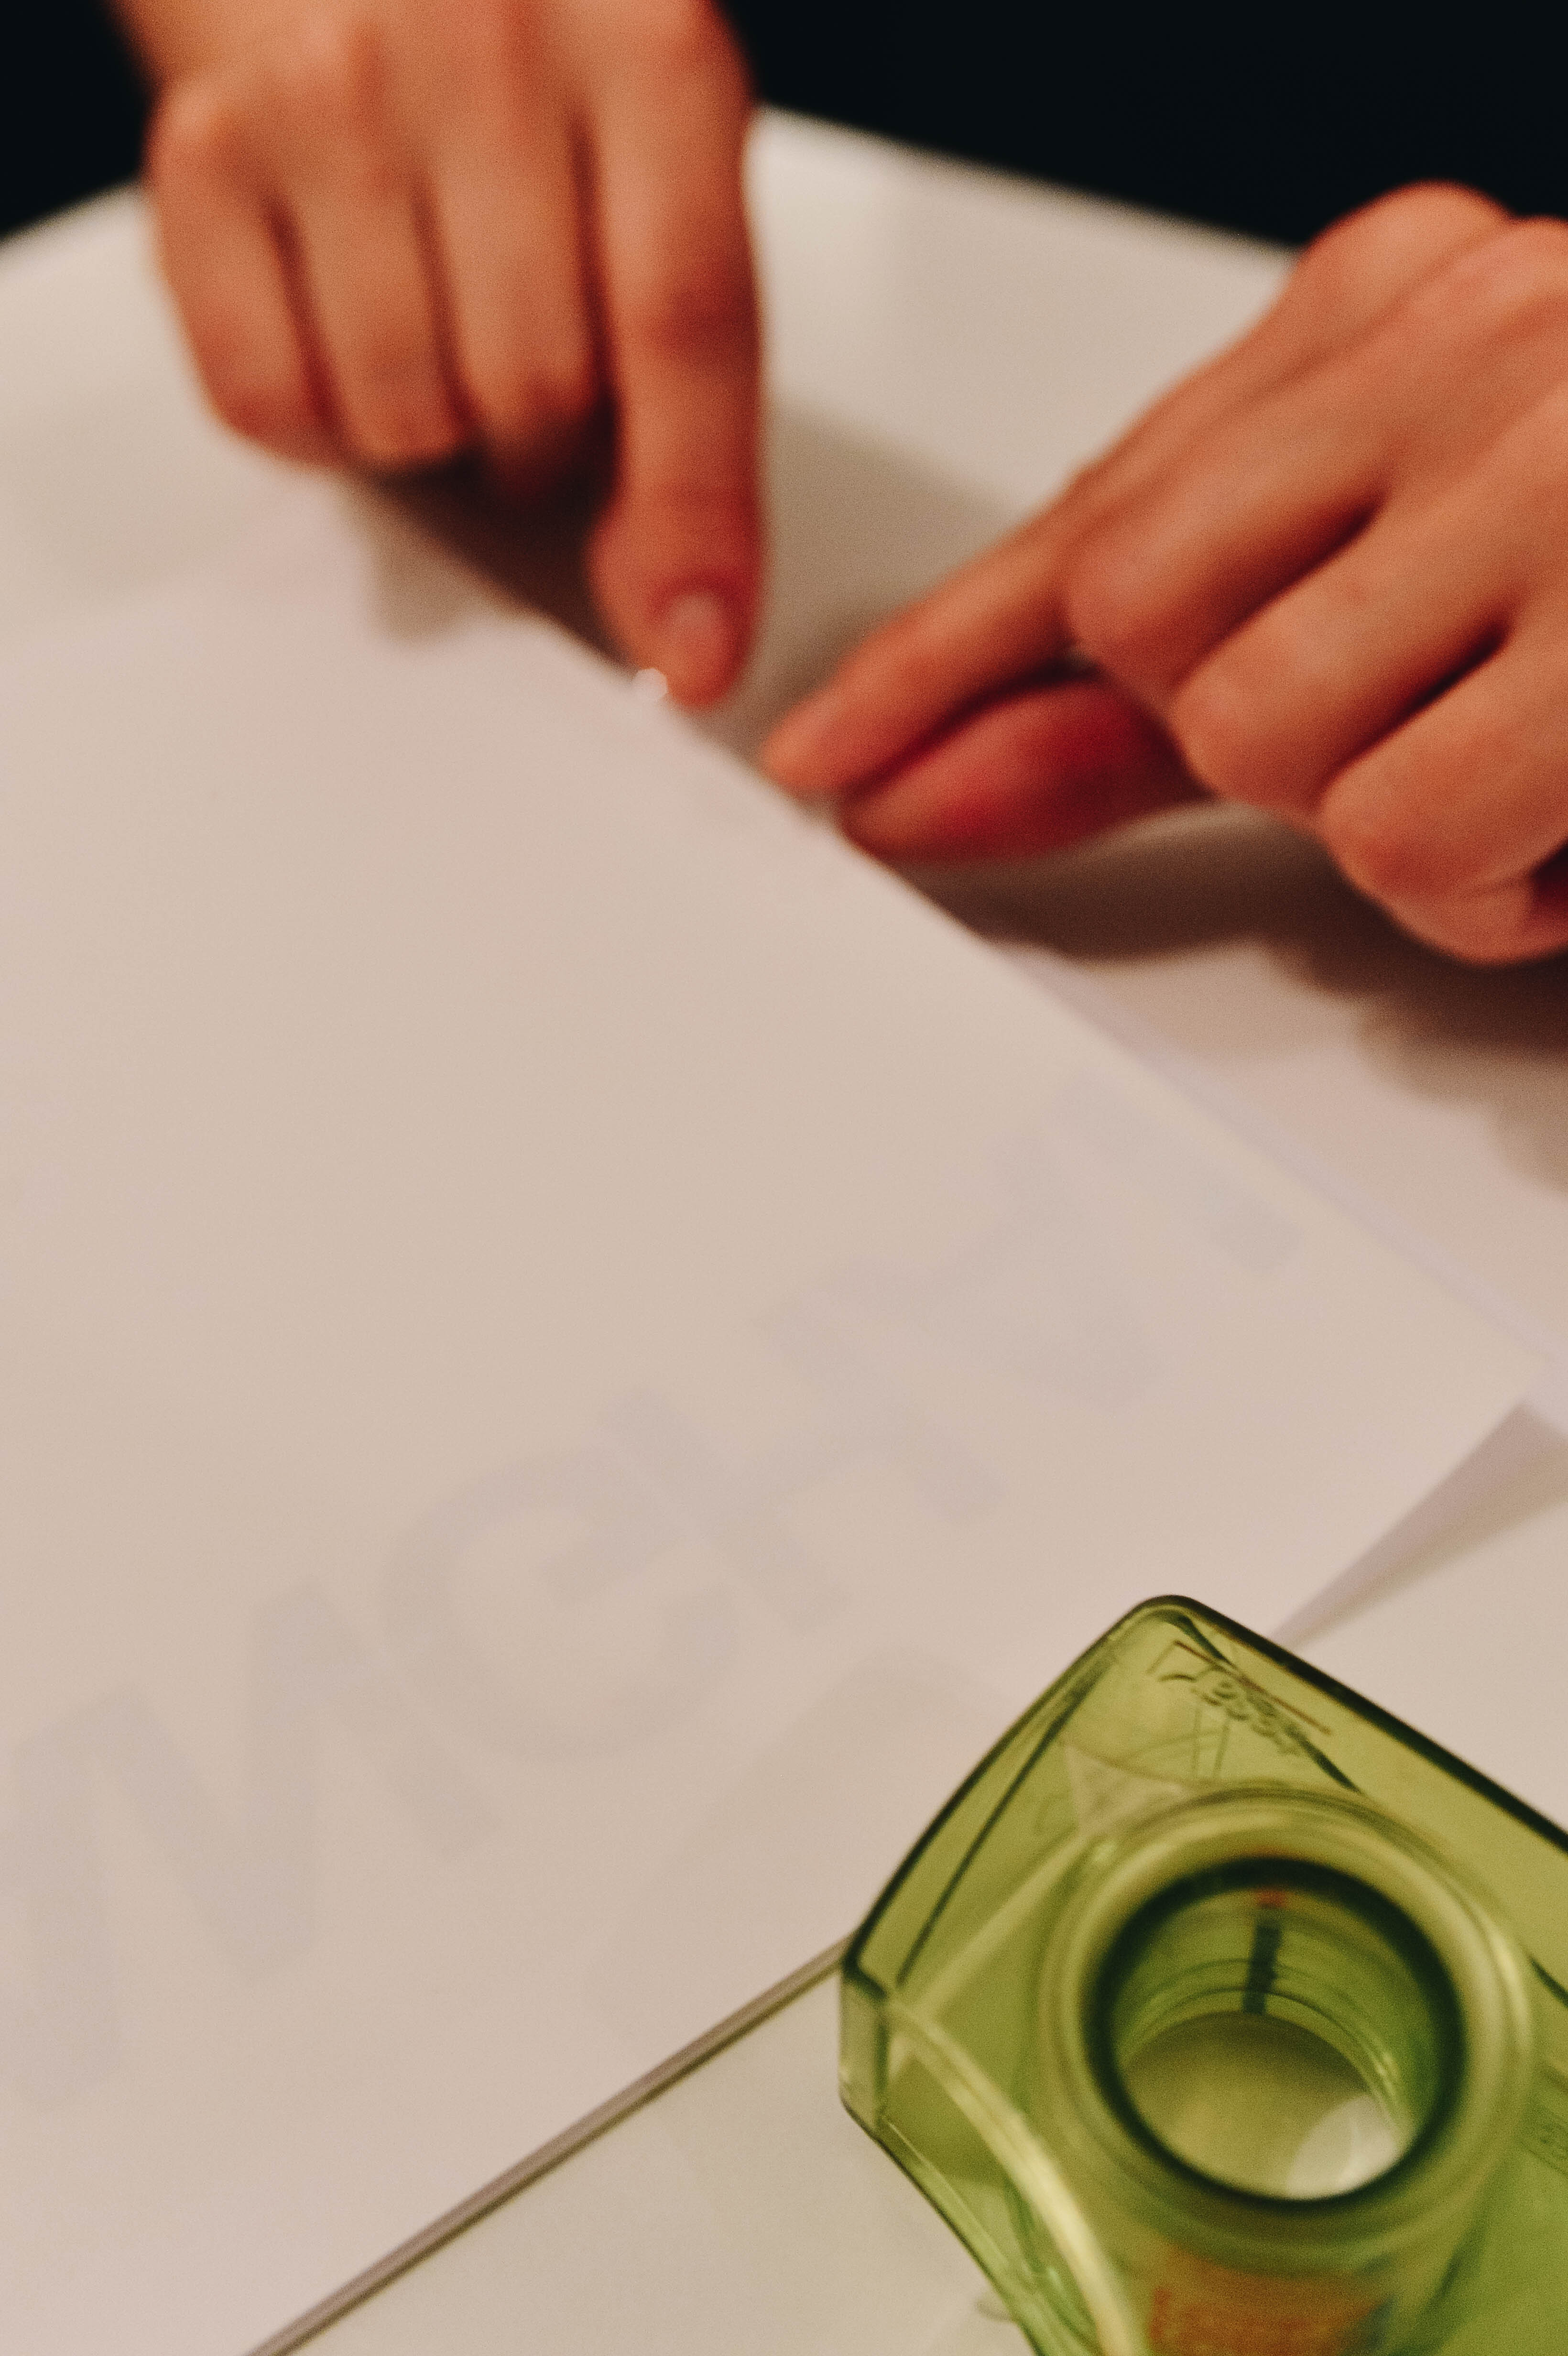
Second step is, to glue the background picture to the passpartout or the wooden inlay for the back of the picture:
Now it’s time to plug-in your glue pistol or open your superglue and get started with decorating your frame with the little items you gathered:
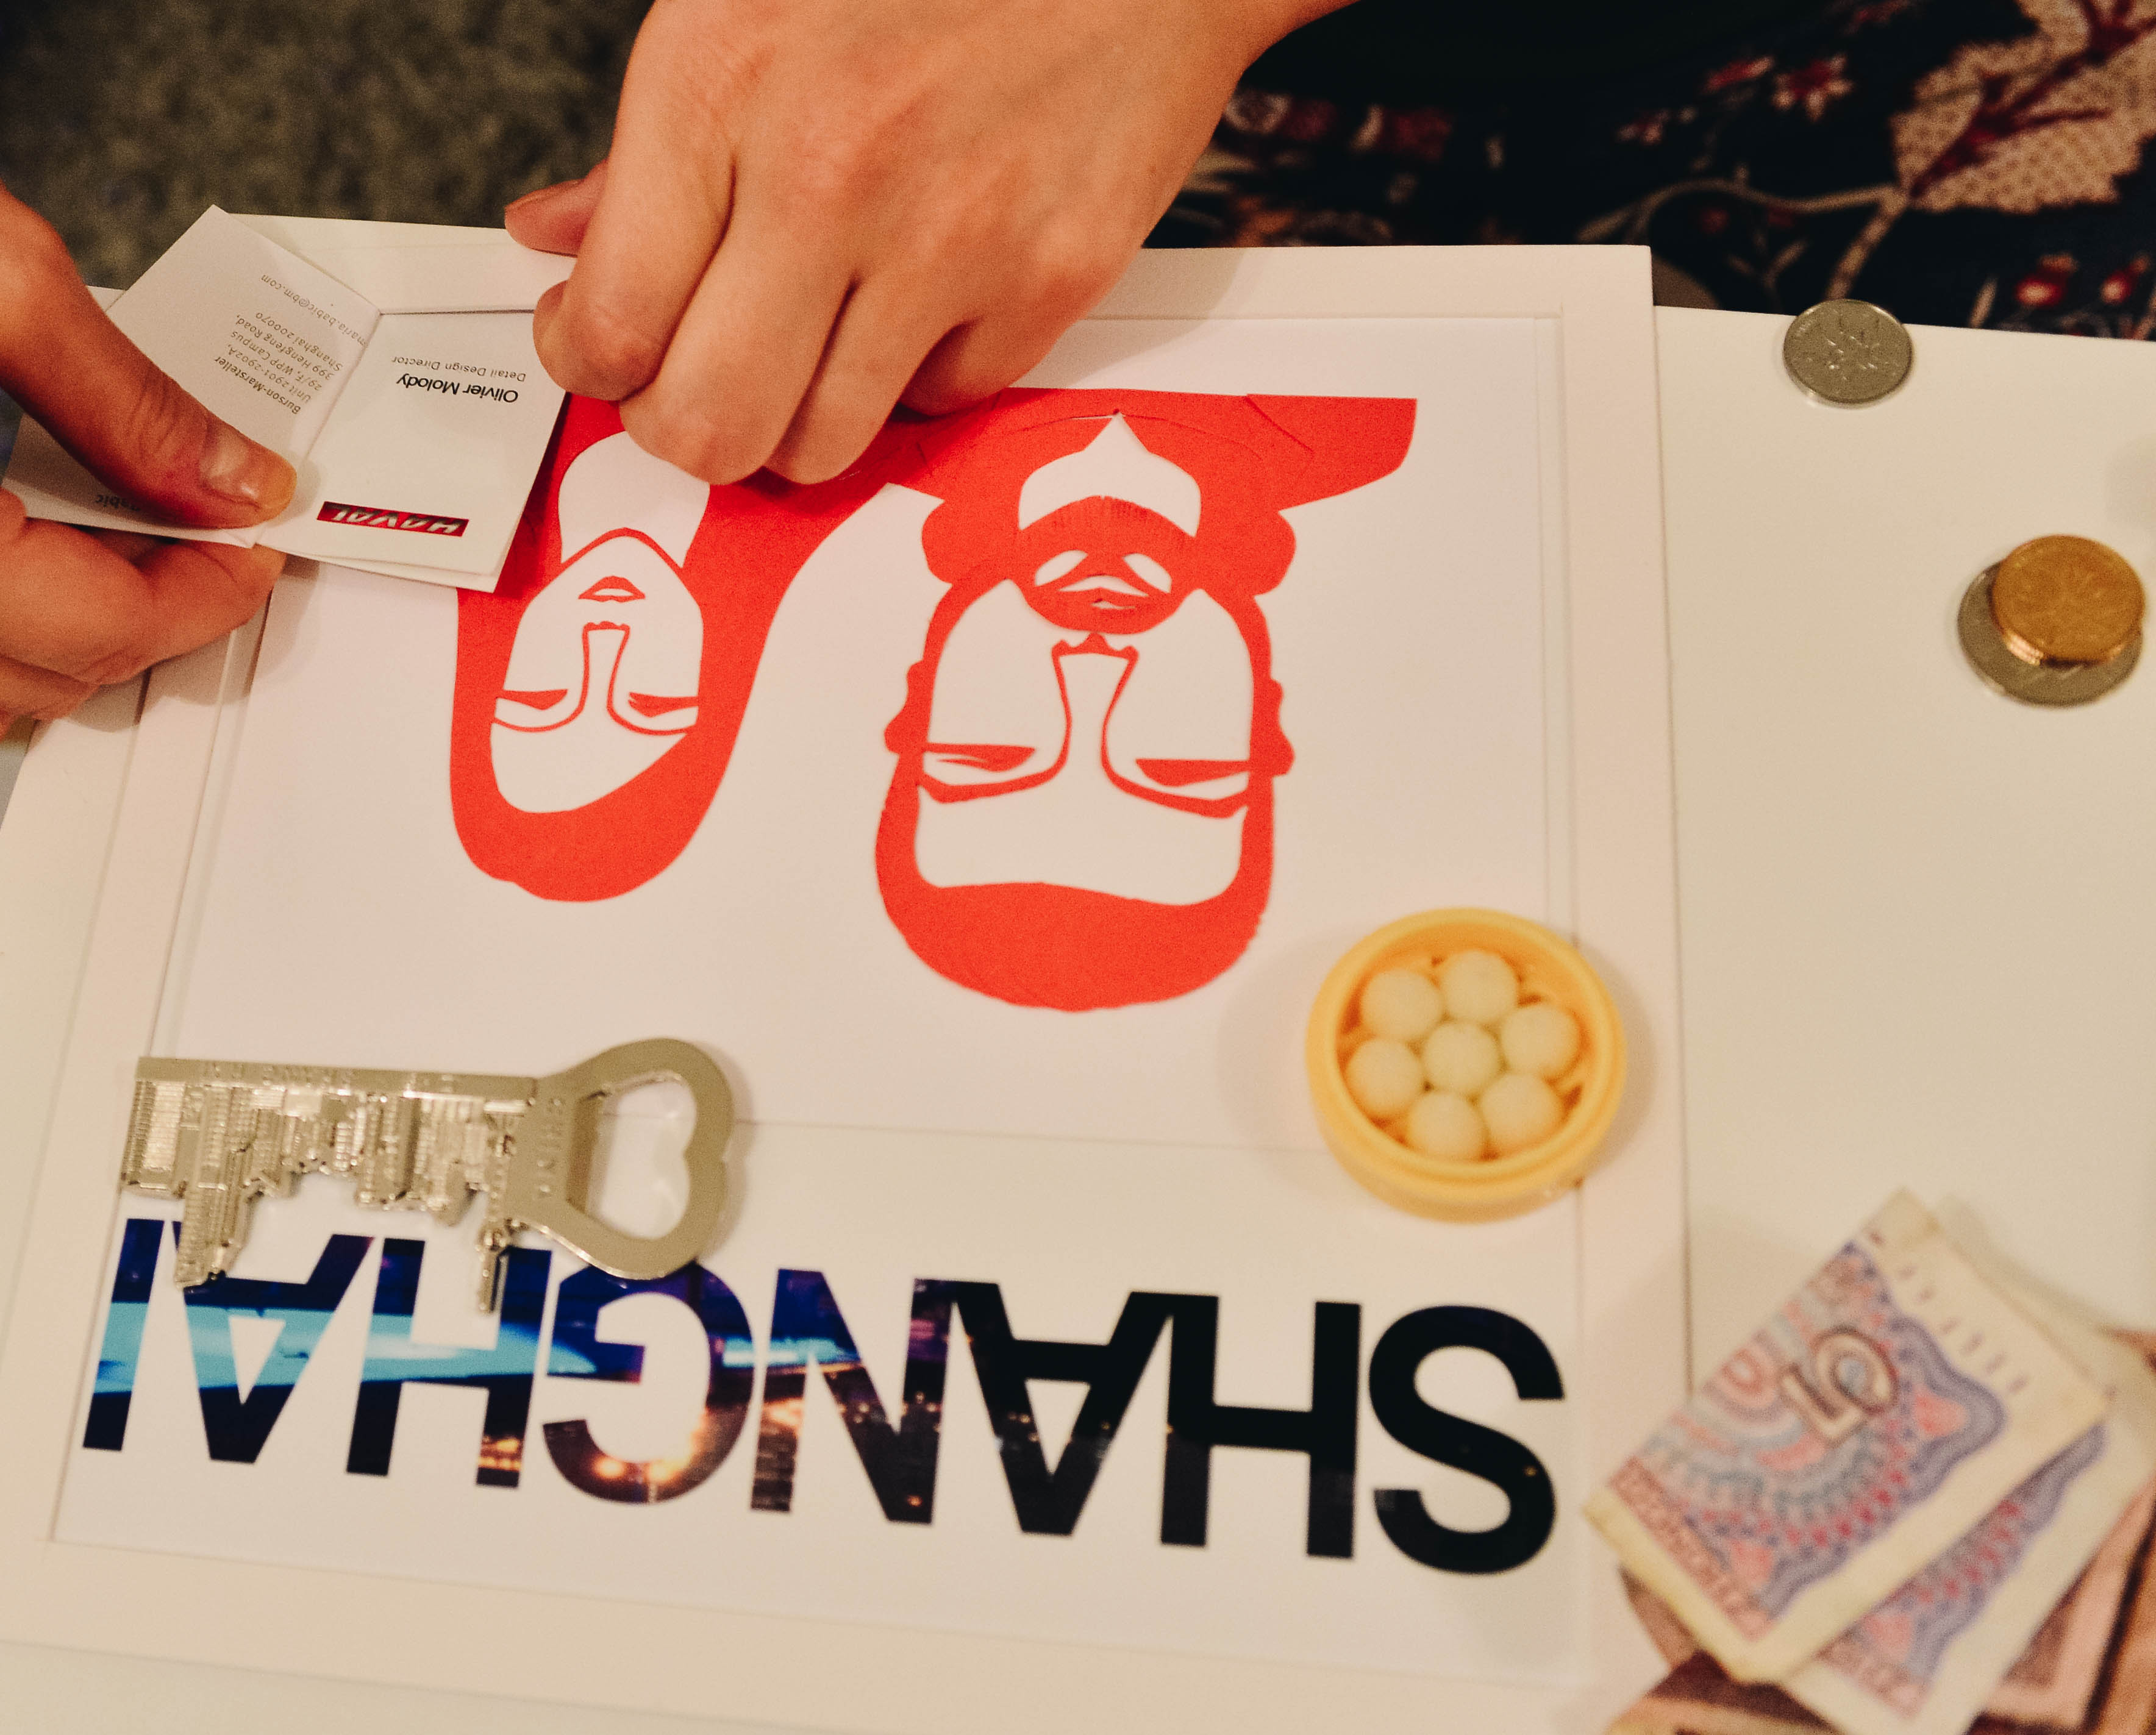
Here’s a little tip: If you are using a magnet, fix it with a magnetic coin on the backside. Other items can be glued or just simply placed in the frame to create a layered look.
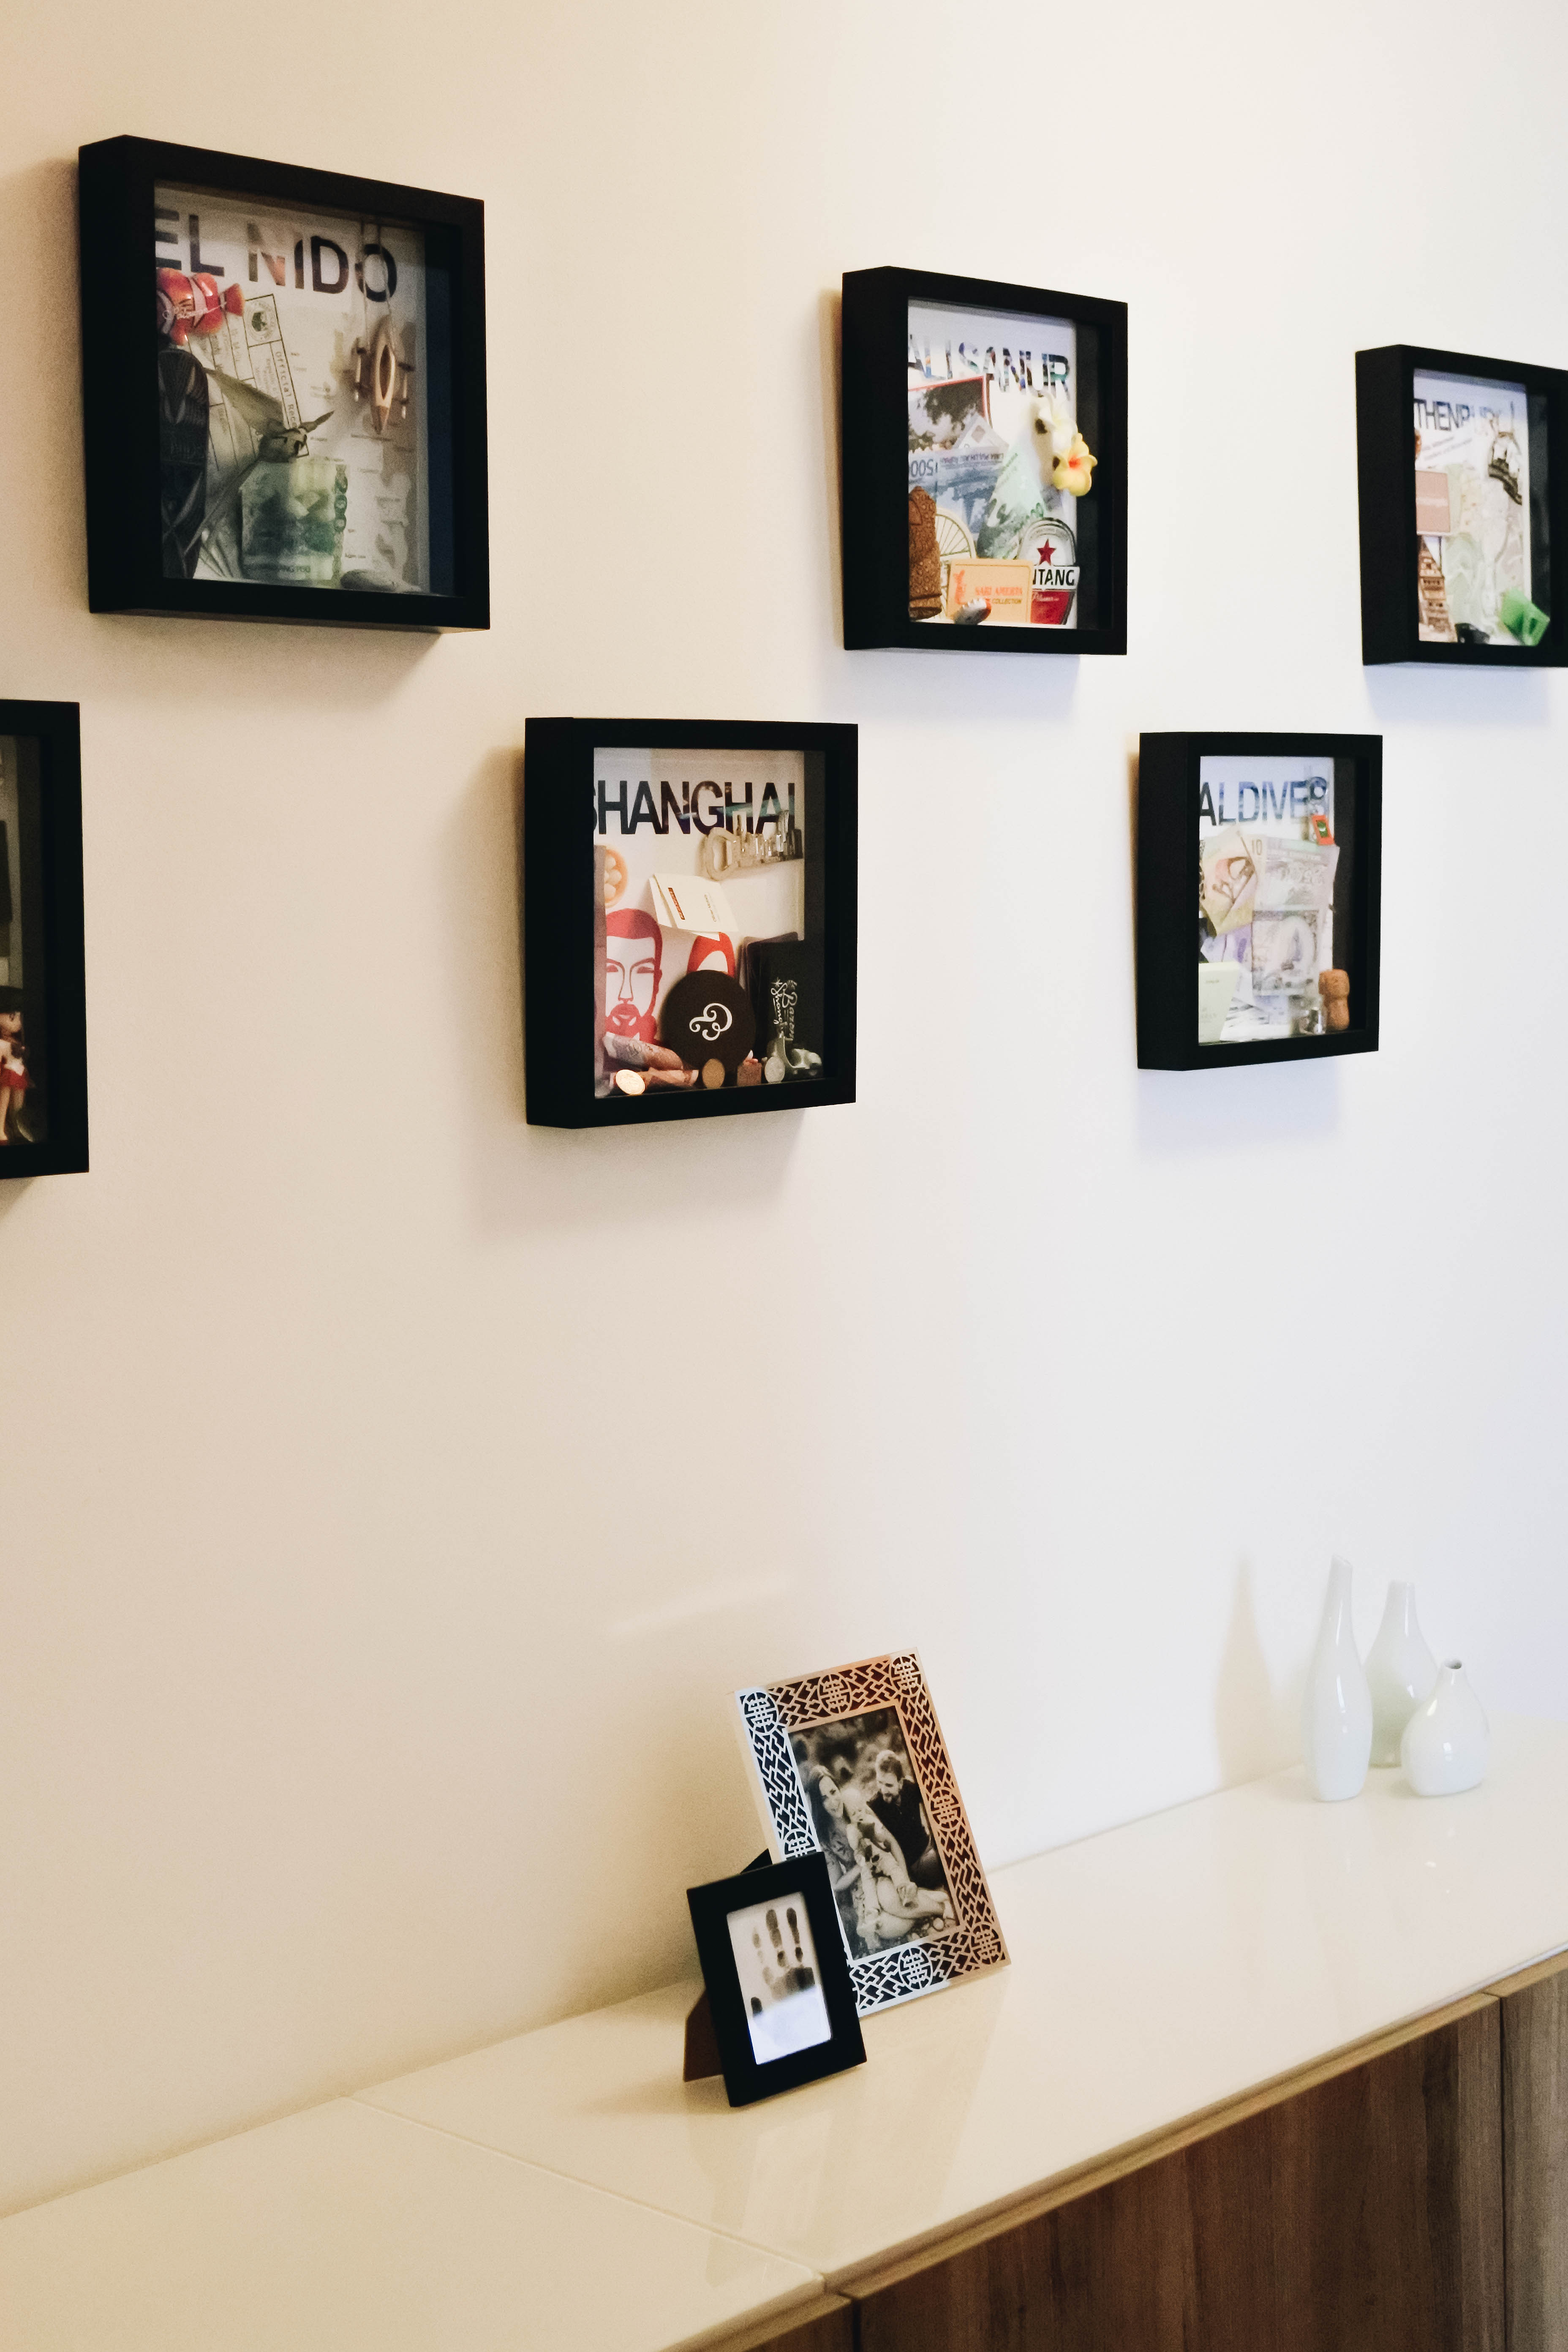
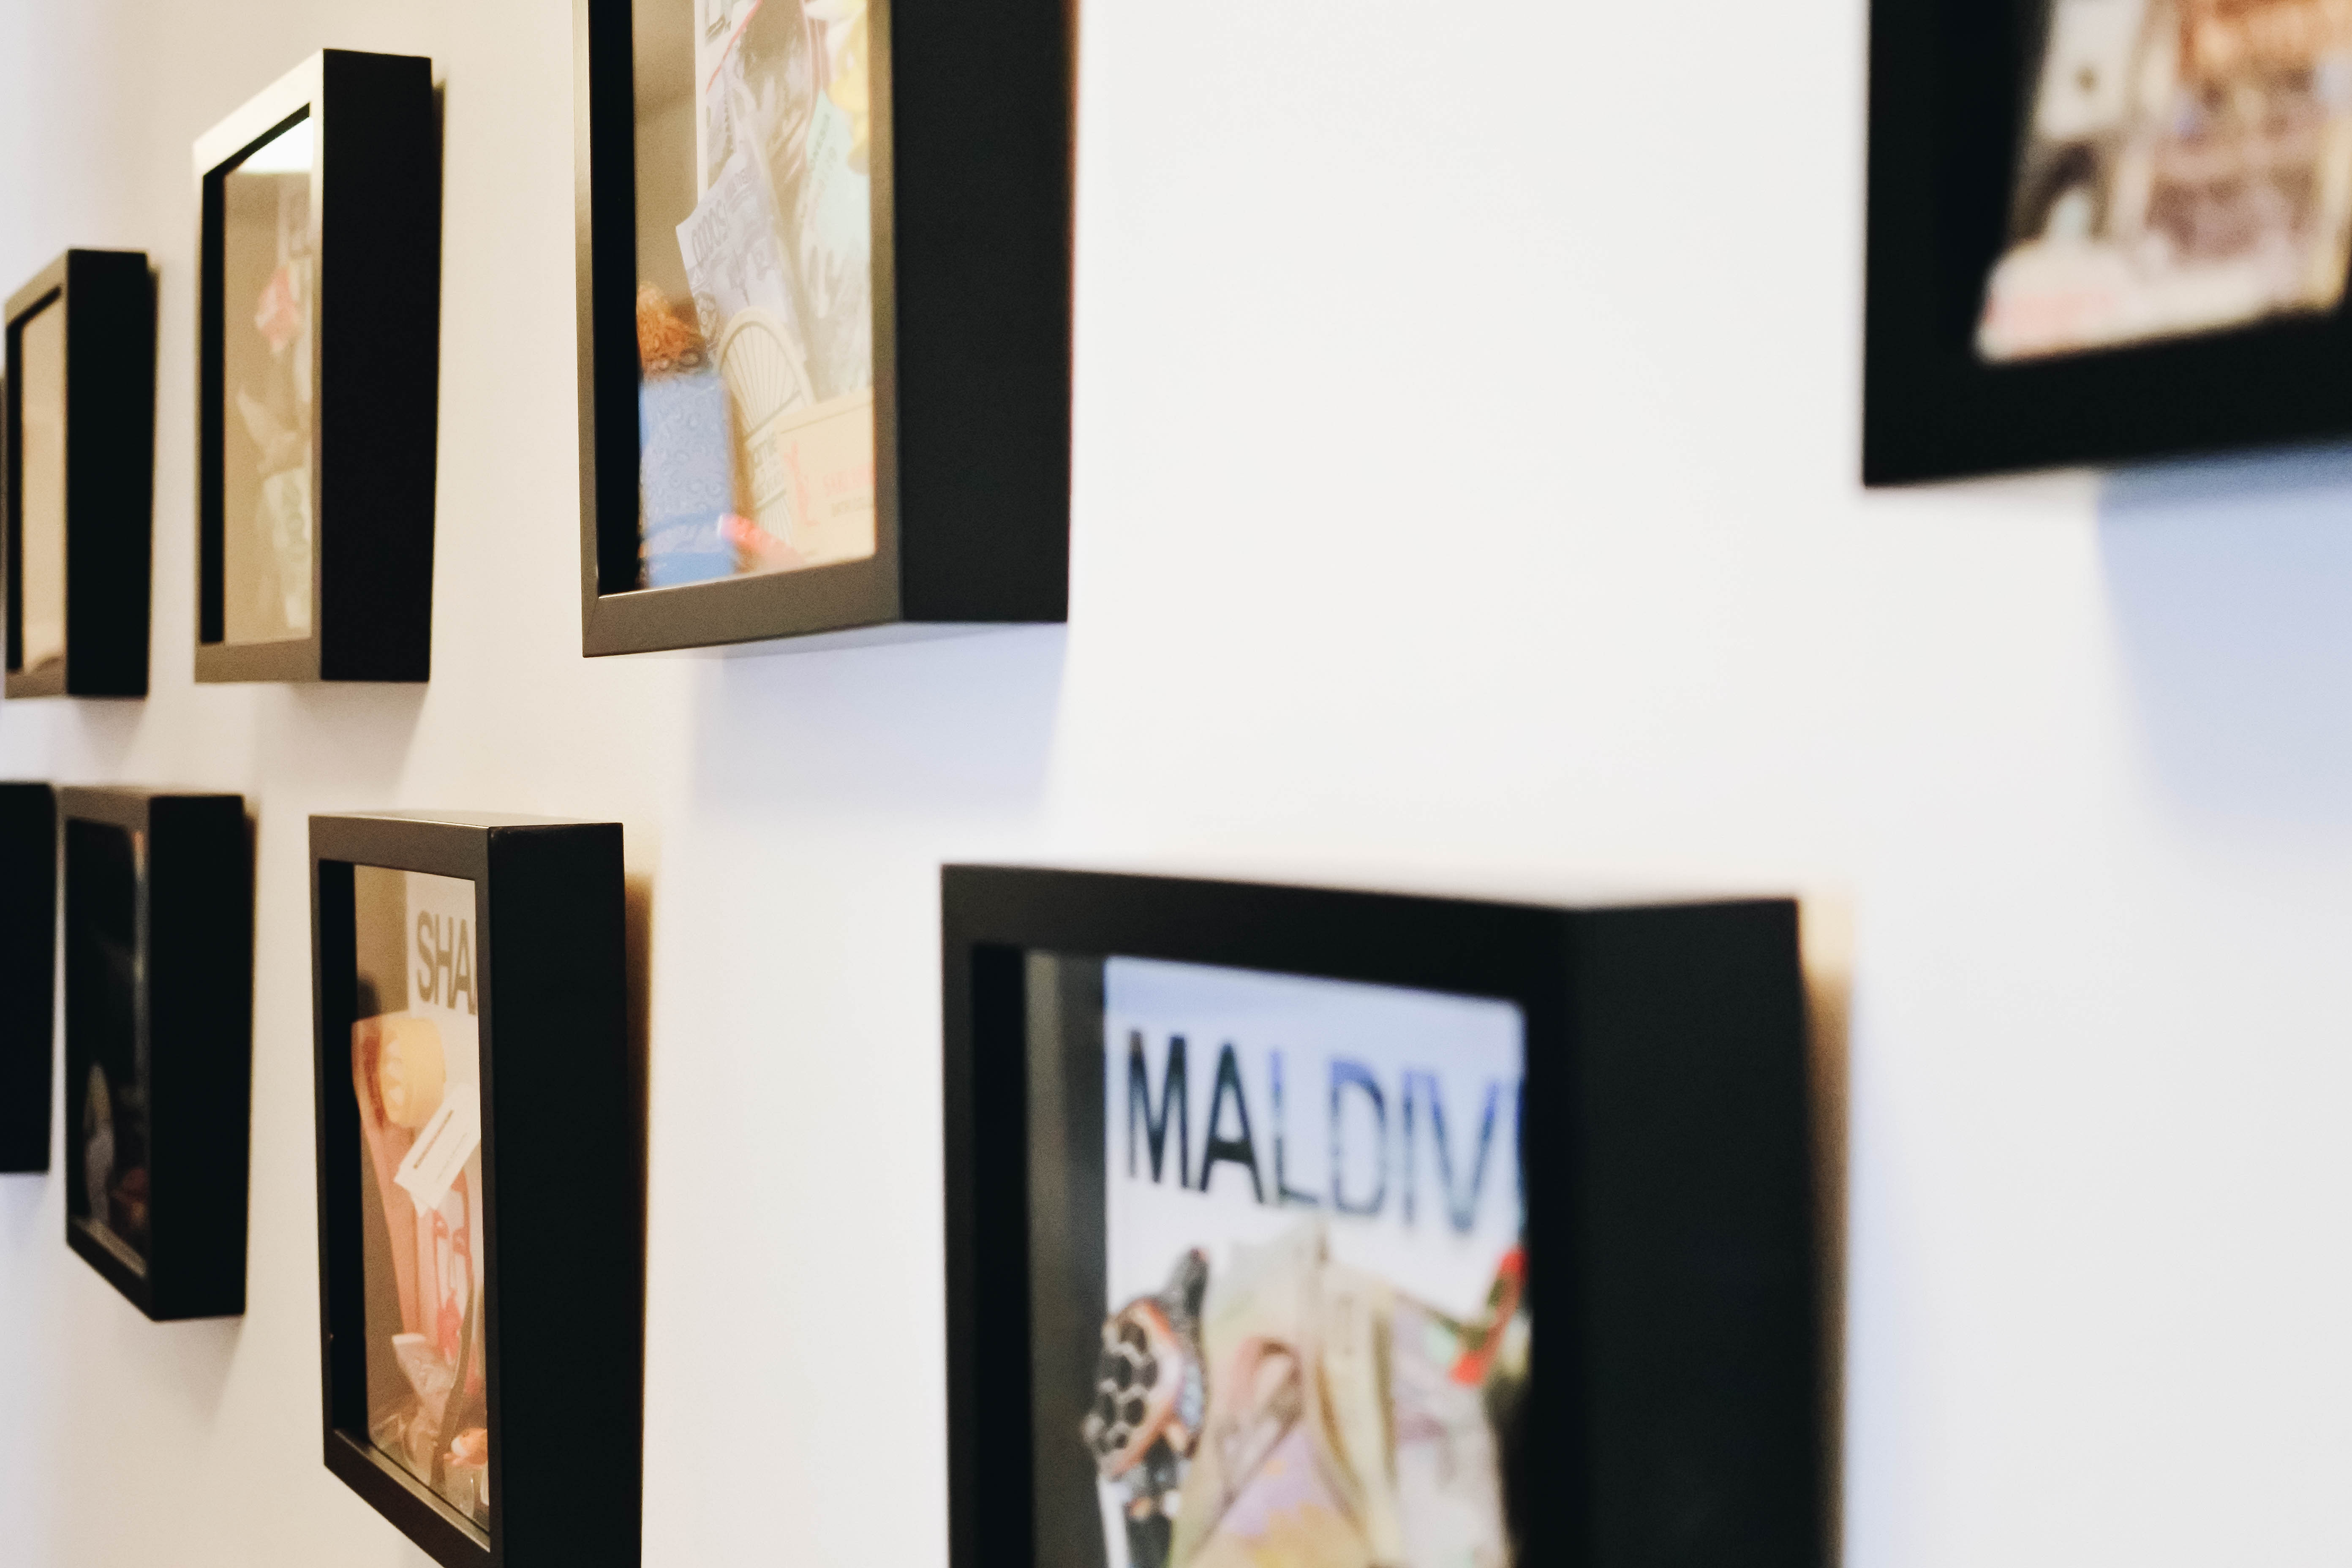
Hang your end-result, I hope you like it!
Here are some impressions on how it could look like if you decide to do it for most of your trips:


Hope you liked this little DIY. ❤

